Wednesday, May 25, 2011

Chao Ga (Chicken Rice Porridge)

By request: chicken rice porridge. I still remember years ago, four of us were playing Cranium. I had to list three comfort foods and our friend MA had to list her three comfort foods. I think I wrote mashed potatoes, mac + cheese, and rice porridge. She wrote chocolate, ice cream and cookies. The goal was to think alike.  It was pretty hilarious how differently we were thinking, but chicken rice porridge is definitely a comfort food. By request, here's my way of making chicken rice porridge.

optional
Chicken stock (makes about 3 quarts)
2.5 pounds chicken bones
2 chicken quarters (drumstick and thigh)
1 onion
half head garlic
1 tablespoon salt

Put all of the ingredients in a big pot and pour enough water so that there's a 1-2 inches above the stuff.  Heat on high until it reaches a boil and then reduce to medium-low to maintain a simmer. You don't have to peel the garlic because the stock is going to be strained anyway. I peeled the dry layers off of the onion. In about 30 minutes, the meat on the chicken quarters should be done. Take out the meat and let it cool.  Peel the meat off of the bones and put the bones back in the pot.  Cook for a minimum of 1.5 hours.  I cooked it for about 3 hours. Strain the broth out and recover any more meat that you see.

The broth, merrily piping along
The finished product!

Rice porridge: (makes a LOT, maybe 24 servings)
3 cups white rice (we use long grain Jasmine rice)
1/4 cup oil
6 cups water
8 cups chicken stock, plus 4 cups reserved
1 teaspoon salt
1 small cabbage head (optional)
4 cups bean sprouts (optional)
2 lemons or limes, sliced (optional)
fish sauce to taste
 
1. Optional: I had a lot of chicken skin so I cooked it in a pot on low heat for 20 minutes.  I used the fat for cooking and Lionel made a crispy chicken skin sandwich.

Looks good though, doesn't it?
2. Heat the pot on medium heat with 1/4 cup of oil and 3 cups rice.  Toast the rice until golden brown, about 20 minutes. Stir occasionally, every few minutes. Towards the end (last 8 minutes or so) reduce to low heat because the rice may burn if the heat is too high.

After 10 minutes, some of the grains are still white and others are browned

After 20 minutes, some of the grains are light brown and others are dark brown, but none are black!


3. Be prepared for dramatic sizzling. Pour 6 cups of water into the pot of rice all at once. Stir. Let it cook for about 10 minutes on medium-low heat. You'll see that it absorbs a lot of water. Add 8 cups of chicken stock. Let it simmer until it reaches a desired consistency. I like it chunky with some broth, so I cook mine for about 20 minutes.  Others like it very watery and will cook it until the rice is broken down into small specks and add extra liquid.  As the porridge cools down it may absorb more liquid, so reserve some broth to add into the pot the next day.

If you didn't make homemade stock, open up some cans of chicken broth and cook some pieces of chicken in it until the meat is cooked.  Shred the chicken meat and use that broth for the porridge.

Yum yum yum
4. Prepare the toppings.  I did this while the porridge was cooking.  Slice the cabbage into fine shreds.  Wash the bean sprouts. You don't have to snip the browned root off of the bean sprouts, but some people do it to make the bean sprouts look nicer.

5. Top with whatever you want. I used chicken, lettuce, bean sprouts, fish sauce, and lemon pepper.

Tuesday, May 24, 2011

Salmon with Lentils and Chive Butter

Waiting to go home this week seems to have some-what zapped my cooking inspiration. I am really excited to cook but not so invigorated about thinking about what to cook. Kind of a catch-22 there. Yesterday I sat down determined to figure out what I wanted to get at the store before I went to sleep and this was one of the recipes that came from it. I got it from epicurious.com, I believe from an old Bon App. magazine. Speaking of which I hear their revamped style is interesting...it's something I'll have to check out later this summer.

As a heads up this recipe calls for French lentils which I know can be hard to find. At least it always takes my mom about 3-4 stores back home to find them...maybe they are more common over here in St. Louis since Katie and I found them in bulk at Whole Foods. Super exciting and super cheap! Lien, if you can find these when you get back to the states it is a super easy recipe. You should still make the salmon part though since you can do that without fancy stuff.

Ingredients:

Salmon:
two Salmon fillets (enough for two people to eat)
2 tbl butter

Chive Butter:
4 tbs butter
1 tbs chopped chives
2 tsp mustard (preferably whole grain)
1 tsp lemon juice

Lentils:
1 cup French lentils
4 cups water
2 medium size leeks, chopped white and pale green part only
1 tbs butter
1 tbs lemon juice

Preparation:

1. Make the chive butter. Combine all the ingredients. If you did not take out your butter to come to room temp. beforehand you can just zap it in the microwave for about 10 seconds. Season to taste.

2. Start the lentils. Add them in a pot with the water. Bring them to a boil and then lower it to a simmer and cook for 20-25 minutes until the lentils are tender. Take off the stove and let them sit for about 5 minutes. Then reserve 1/2 cup of cooking liquid and drain the rest of the lentils.

3. Towards the middle of the lentil's cooking time, slice the leeks, thinly and then wash them. Its easier this way since leeks some times have dirt one-two layers down. In a skillet melt 1 tbs of butter, and then saute the leeks for 6-8 minutes until soft.

4. At the same time, melt the 2 tbs of butter for the salmon. Pat the salmon dry and then season with salt and pepper on both sides. Cook the salmon until done. About 6-8 minutes depending on the thickness.

5. While the salmon is cooking, add the lentils to the leeks when they are soft. Add three tbs of the chive butter and season with lemon juice and salt and pepper. Cook until lentils are warm through.

6. Once the salmon is done serve on top of the lentils with chive butter.

Yum, yum.


Friday, May 20, 2011

Ropa Vieja

Well, there are no great pictures of this feast but it was tasty. I was more excited about the burnt carrot salad than the ropa vieja at the time, and then I tasted this and thought well that was a great meal I did little to make!

Lien, I have no idea if you could make this in a rice cooker...probably but who knows, I would just say you should get a slow cooker/crock pot when you get back to the states since you aren't on that tiny island much longer. 

I took this recipe from Food and Wine's website though, so they should get the credit.

Ingredients:

2lbs flank steak halved length wise and cut into four pieces each. I'll describe what I mean here later Lien, I am sure you are confused.

Salt and pepper
28 oz can of diced tomatoes
1/4 cup water
2 bell peppers diced
1 medium onion diced
1 jalapeno diced
1/2 teaspoon oregano
1/2 teaspoon of cumin
1 bay leaf
Warm tortillas and rice to serve with.

Food and Wine also calls for:
1/2 cup pitted green olives
2 tablespoons of capers
3 tablespoons of coarsely chopped cilantro

Chris doesn't like the first two on that, and the cilantro I just completely forgot about, though I am sure it would have been a delicious addition.

1. Take the flank steak and figure out how you should cut it. Since you are slow cooking the meal it should be in relatively medium-large chunks, thats the point of the cutting. I ended up having about 2-3 inch by 1-2 inch chunks of meat. So you don't have to follow the cut it length-wise bit, Lien. And now just chucking the whole piece of meat in the slow cooker, then it WONT cook! Well it would just take a really long time to cook.

2. Season the steak with salt and pepper. This means you should put more salt and pepper than you would think Lien. Don't like slather it on, but a good amount. It is also what will go towards seasoning the whole dish before you add more and helps to "tenderize" the meat.

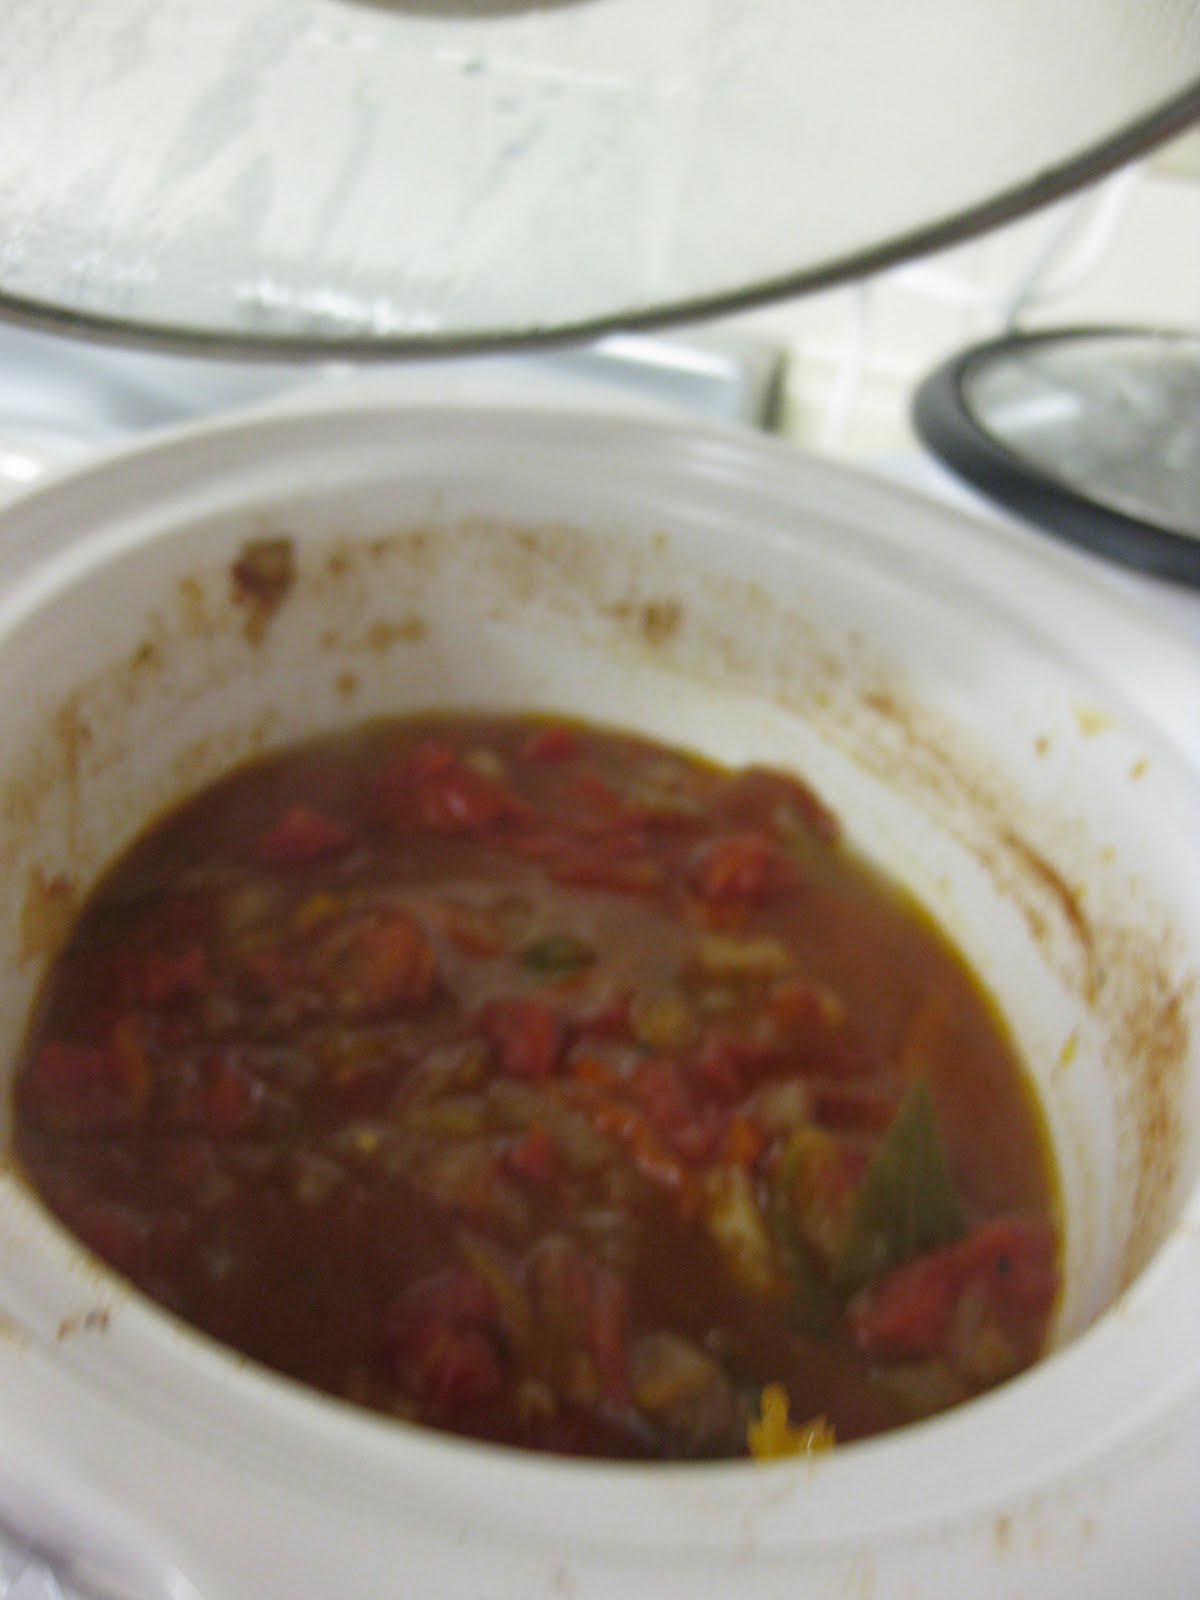
3. Then add everything else except the tortillas and rice to the slow cooker. Add the flank steak and cook on high for 5 hours. You know it is done when the meat is basically falling apart. Take the meat out and let it rest for 10 minutes. Then shred it with two forks and return to the slow cooker. Season the sauce if need be with salt and pepper.

4. Add the olives, capers and cilantro if using.

5. Serve with tortillas and rice. Yum, yum

Here is the very blurry picture of it, without the beef added in again.


Wednesday, May 11, 2011

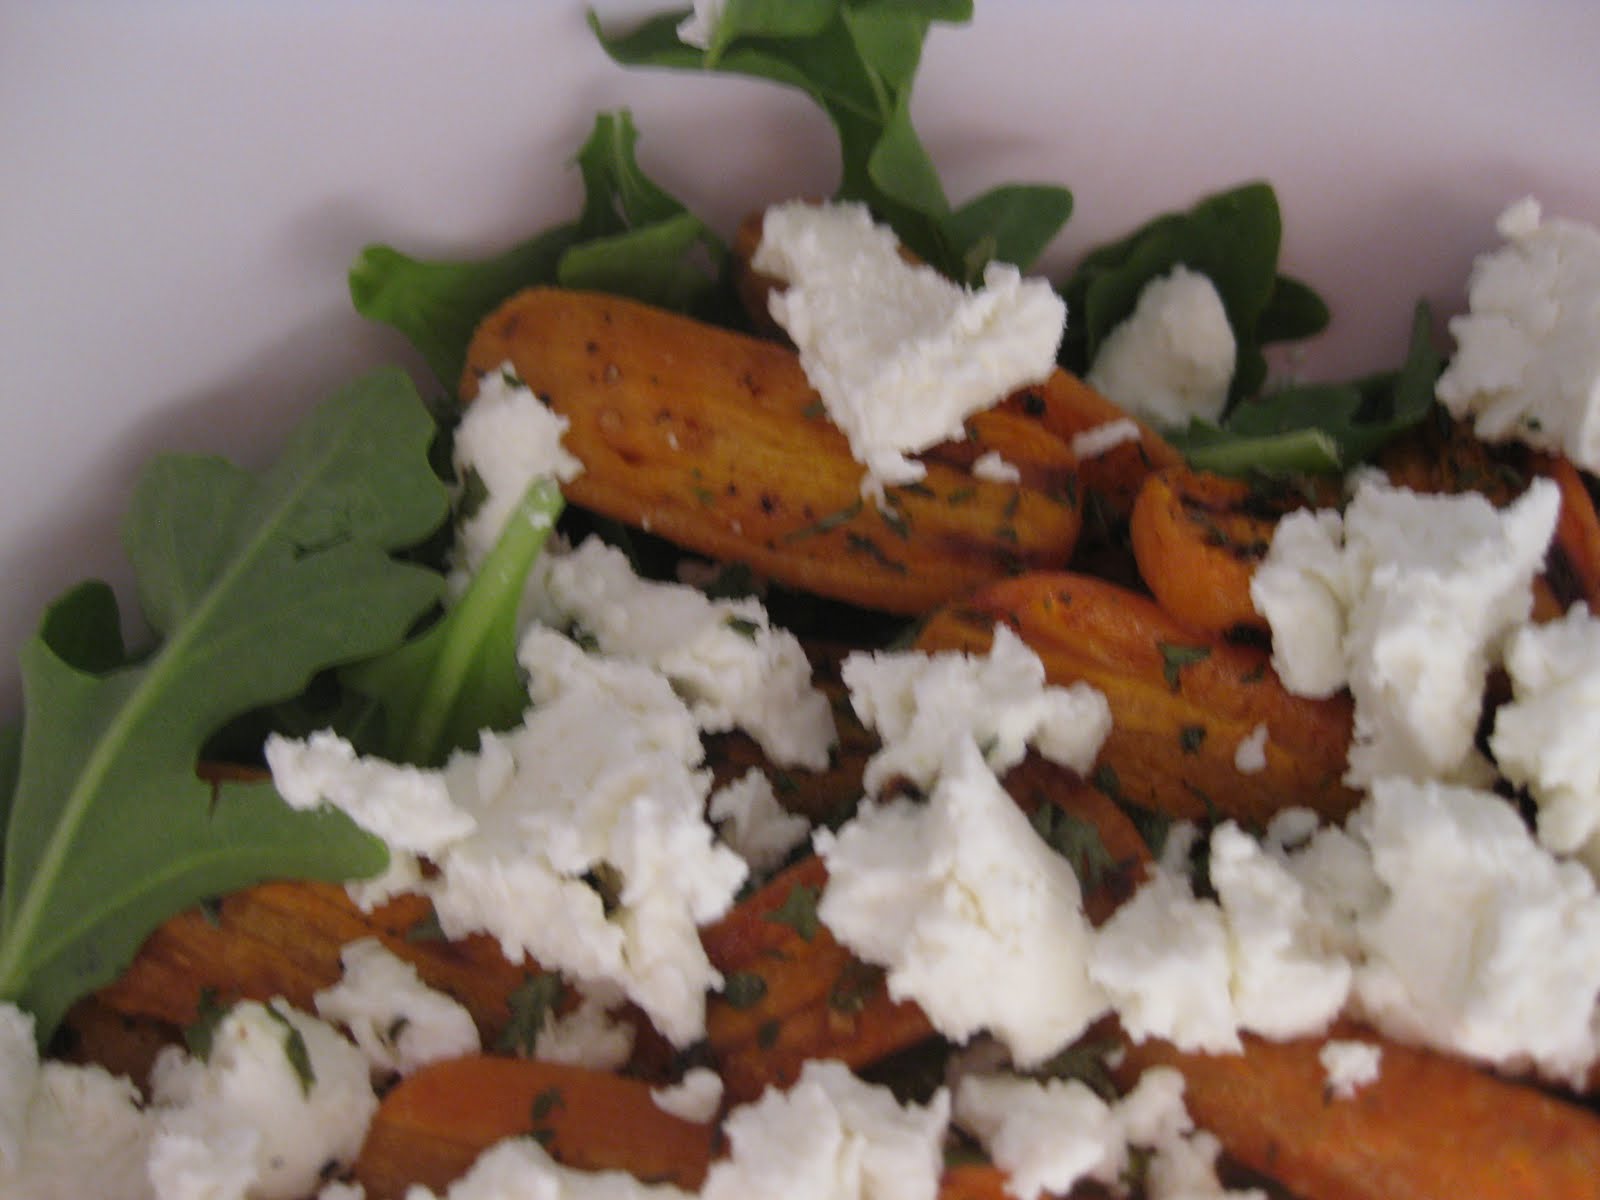
Burnt Carrot Salad with Arugula and Goat Cheese from Food and Wine

My mom made this salad when my aunt came to visit, she is vegan. Since my mom put goat cheese on hers and my dads portion she figured that I would love it as well. Turns out she was right, so despite the fact that it now feels like 100 degrees in my apartment, I am very very happy with the salad. Plus it is a great excuse for me to eat goat cheese! We ate it with slow cooked ropa vieja which was also really good, I'll blog about that one later though.

Ingredients:
8 larger carrots
1 bag of arugula
9 tablespoons of olive oil
3 tablespoons of red wine vinegar
salt and pepper
4 oz. of goat cheese
1 teaspoon of thyme
1 tablespoon of chopped parsley

Preheat the broiler.

Take your carrots, cut them in half length-wise and then cut them into two inch segments. I just used baby carrots and cut them in half. Put the carrots in a baking dish, like a pirex, and put 3 tablespoons of olive oil on them, the thyme, and then salt and pepper to season. Put them in the broiler for about 3-5 minutes until they are starting to brown. Turn them over and then let the other side brown. They should be crispy on the outside and soft on the inside when you take them out. About 5-10 minutes total.

Combine the rest of the olive oil, the vinegar, and salt and pepper. Whisk until the oil and vinegar are intermingled.

Take your arugula and put it in a bowl. Then put the parsley in. Add the carrots, then the goat cheese. Swirl the dressing over it and serve.

Super delicious.

Technically this is all supposed to be done on the barbecue, but I dont have one and it worked just fine this way!


Wednesday, April 27, 2011

Americanized Chinese Chicken. General Tso I think...

Because this sounded good and the picture of it in my food and wine was too good to pass up I decided to make the ultimate Americanized Chinese food this last weekend. I mean how much more Americanized can fried chicken with an Chinese-style sauce get. After making it though I would make a few changes and forward people from the frying part, -cough- Lien -cough.- Since your fridge story, I'm not sure I want your roommates coming home finding you cowering behind a pot lid as you toss chicken pieces into hot oil....>_<

Here is the recipe with my altered changes as well.

General Tso's Chicken:

2 chicken breasts (the original recipe calls for thighs, really it's your preference)
1/4 cup of corn starch
1/4 plus 1 tablespoon soy sauce
1 large egg white
1 1/2 teaspoon of toasted sesame oil
3/4 cup chicken broth
1 teaspoon chile garlic sauce
3 tablespoons of sugar
1 tablespoon of vegetable oil plus more for frying
2 tablespoons very finely chopped fresh ginger, I really just have kind of chunky ginger, it's tasty!
2 large garlic cloves, minced
4 scallions (green onions) thinly sliced

two heads of broccoli
Olive oil for drizzling
spices

Rice

1. Start the rice in the rice cooker

2. Preheat oven to 450 for the broccoli

3. Combine 1/4 cup of cornstarch plus 2 tablespoons, and 1 tablespoon of soy sauce, the egg white, and the sesame oil in a bowl and mix. Then cut up your chicken into bite size chunks. Add the chicken and coat in the marinade. Let it sit at room temp for 20 minutes.

4. Meanwhile cut up the broccoli. I like to long stemmy pieces. Put in a baking tin/glass pan. Then drizzle with olive oil and add salt and pepper. I also added garlic to it to make it more in theme with the dinner.

5. In a small bowl, like a soup bowl. Add the chicken broth, 1 talbespoon of cornstarch, chile garlic sauce, sugar, and remaining soy sauce. Whisk it together. Yes, whisk, it helps to break down the sugar.

6. In a small saucepan heat 1 tablespoon of vegetable oil. Add the ginger and the garlic and cook until fragrant, like a minute. The add the broth mixture and let it cook until thick and glossy. Now honestly this did not take 3 minutes when I made it and it never got very thick. So I took down the amount of chicken broth for this post, and hopefully that will help. It was still tasty though. If it still isn't thickening as much as you want, add a teaspoon of cornstarch and whisk it in.

7. Once the oven is preheated add the broccoli. It worked well to do this for me at this point, but you can always do it sooner. Just keep an eye on it for when it starts to get nice and browned. See roasted veggies recipe for more explicit details.

8. In a large skillet and I do mean large. I didn't use a big enough one. :-( But in a large skillet, heat about 1/4 inch of oil. The original recipe says for 1/2 inch, but really you could still fry it with 1/4 inch. Once hot and shimmering, Lien be careful. Then add the chicken SLOWLY. I tried using chopsticks for it, and am not an adept enough Asian...yep Asian now, and quickly realized I could slowly pour it in. But do be careful as the oil will most likely splatter. Cook the chicken until very browned and crisp, turning a couple times as well. It doesn't take long, like 4 minutes if that. Then drain your chicken on paper towels. Lien, use a slotted spoon or spatula for this as you dont need buckets of oil on your paper towels. After immediately add to your sauce with your scallions, stir until coated, about 30 seconds and then serve.

9. The rice and broccoli should be done as well at this point.

Yum!


Honey and Oven-Dried Tomato Bruschettas

Hello again! Rachel is back thanks to not having student teaching any more and being unable to look for a summer job as yet.

So for class this week we were asked to bring in food for a potluck. Katie (Missouri one...yes, Bordo there is another Katie in my life :-P) and I were super excited to get to make food. She wants to start a pastry shop too. Anyways, I immediately decided on the Bruschettas in this post because well, they are like crack for me, and, wait for it...they get me to eat tomatoes! Katie made this wonderful smoked salmon dip, even though we ate it tonight instead of last night at class. Still delicious! And super easy...so Lien, I will reiterate how to make that at the end of this post too.

For the Bruschettas though, here we go. (Lien you can improvise this if you want with pre-bought sun-dried tomatoes.)

1 lb of grape or cherry tomatoes
2 tablespoons of honey plus more for drizzling
2 tablespoons of olive oil (I always eyeball this...so maybe a little more?)
1 teaspoon of thyme
a few dashes of salt

Fresh chopped basil
Fresh sliced mozzarella cheese (the baby kind in the milky-looking liquid)
Fresh Baguette, sliced

Olive oil for brushing

Honey for drizzling
Balsamic Vinegar for Drizzling

1. Pre-heat oven to 300 degrees.

2. Cut the tomatoes in half, length wise and stick in to a large bowl. Add the next ingredients, through the salt and mix. I always like my tomatoes to be really coated, mostly because when you cook the tomatoes the liquid gets all syrupy and caramelized on the bottom and is delicious! Anyways, add more honey and olive oil as you see fit. Lien, this does not mean add A LOT, but add another teaspoon if you think it is needed.

3. On a parchment lined baking pan pour your tomatoes. The parchment isn't THAT necessary, it just mostly makes clean up a heck of a lot easier. Line all your tomatoes up, so they are cut side facing up. Put them in the oven and let them cook for about 1 hour and a half. I usually do an hour an 40 minutes but it depends on your oven. The tomatoes should be just starting to brown. Take them out and let them cool to room temperature. They can be kept in a container in the fridge for a few days as well. Bring them back to room temperature to serve.

4. Turn your oven up to 450 degrees for the bread. Cut the bread into thin slices for the bruschettas. They should be about 1/2 thick. Then put them on a baking sheet and brush them with olive oil on both sides. Put them in the oven and cook for about 3 minutes, until they are just starting to brown as well and get crispy.

5. Meanwhile take out your mozzarella and begin to slice thinly. Once the bread is done place three to four mozzarella slices on top. Then add the tomatoes, chopped basil, and drizzle all of them with honey and balsamic vinegar. Then enjoy!


And then for Katie's fabulous salmon dip. She said, if I remember correctly:  get one container of sour cream, a block of cream cheese, a pallet (one thing of Trader Joe's size) lox (so the smoked salmon you put on BAGELS, not the flaky cured stuff), some sprigs of fresh dill, and the juice of one lemon. Put that all together in a food processor/Cuisinart and blend it all together. Then serve with crackers.

Now I want to have an appetizer party. I'll keep you posted on that one...

Wednesday, April 6, 2011

Banh Chuoi (sweet rice and banana roll)

Get ready for a long post. This was my first time helping out to make this. Banh chuoi is a dessert that is typically made for Lunar New Year. It's a steamed roll that has bananas wrapped around coconut-scented sweet rice. The whole thing is wrapped in banana leaves. A savory version that has a mung bean layer and also a layer of fatty pork is called banh tet. Another variation is to package it more in a square shape instead of cylinder. The following is how my mom makes it. We only do it once of year because of the amount of work and cook-time this takes. We make big batches of it (this year we spent three hours making 12 rolls) and they take five hours to steam. So probably none of you would ever make this, but it was still fun to document how it's done.

Banh Chuoi (makes about 12 rolls)

14 cups uncooked sweet rice (aka glutinous rice or sticky rice)
4 14-ounce cans coconut cream
2 tablespoons sugar
1 1/2 tablespoons salt

18 bananas, very very ripe
2 1/2 tablespoons salt

3 bags banana leaves


The night before:
Fill your sink with cold water and soak the banana leaves. Use a clean towel to wipe each side of the leaves clean. Banana leaves are tricky in that they tend to rip easily. Try to keep the leaves as intact as possible. Sort out the leaves that are skinny strips, you will need them later. Let the leaves dry overnight.  The leaves won't dry out completely, but that's okay.  You could prepare the leaves the same day that you make the

Preparing the sweet rice:
The rice needs to be prepared in batches due to the sheer amount of rice involved.  We have a large wok and was able to prepare this in two batches, but others may need to prepare the rice in three or four batches.

1. Heat  2 cans of coconut cream, 1 tablespoon of sugar, and 3/4 tablespoon of salt in a large pan or pot on high heat.

This is the brand of coconut cream that we use


2.  Once the coconut cream mixture has reached a simmer, add 3 1/2 cups of sweet rice.  Stir until the sweet rice has absorbed all of the cream.  The sweet rice won't be cooked or dry, it will be moist.  Let the rice cool before using.  You can start making rolls with this batch or start preparing your other batches or rice.


 3.  Peel bananas into a large bowl.  Add 3/4 tablespoon of salt and mix.  Slice six of the bananas lengthwise.

Assembly!

1.  Set up: have your cleaned banana leaves in two piles, one for large pieces and one for skinny strips (about 4 inch strips).  Have your bowl of bananas and your bowl of rice on the side. Keep a clean cloth to wipe the leaves dry and a moist cloth to keep your hands clean in between wrapping.  You need rubber bands to temporarily secure the rolls and also string to tie them up later.

2. Arrange one sheet of banana leaf with the grain going horizontally, wiping excess water off both sides.  Place a second, wiped sheet on top of it, this time with the grain going vertically. 


3.  Spoon a thin layer of sweet rice onto the leaves.  Leave 1.5-2 inch margins along all sides.  Place one whole banana and a halved one in the center.  Leave a 0.5-1 inch of space between the banana and the rice.  You might need to cut off some of the banana.


4.  Gather the top and bottom of the leaves together.

 
5. Tuck the leaves onto itself and then flatten it.  Make sure the wrapping is tight.  Squeeze the sides to make a rectangle shape.  Also, try hard not to make the leaves rip at the seams.  If you do, take another large piece and wrap it around the whole roll.

Fold the end onto itself

Then fold it flat


6.  Fold one end of the roll simply, so that you can turn it on its side.  Use your finger to scrape any rice on the inside of the sides.  If you can see banana peeking through, add some more rice and then tamp it down.  Fold the sides of the roll similar to folding the sides of a gift-wrapped box. You may need to trim off excess banana leaf.


 7.  Reinforce the sides with some strips of banana leaves.  Lay one strip to wrap end in one direction.  Lay another strip crosswise.  Tie the end with some string or a rubber band.  You will properly tie the whole thing up later.


8. Flip over and wrap the other end.


9.  Continue to wrap until you are out of bananas.  Now it is time to tie all of the rolls.  Use one piece of  string to tie the long sides of the roll.  Use the same method as tying ribbon on a present.  Tie the ends of the string together.  My mom likes to do this fancy thing where she uses one string to wrap the long sides for two rolls.  That way, it is easy to hand the cooked rolls.  That isn't necessary, but feel free to do that if you want.


10.  Tie more string around the center of the roll.  In the end it will look like this: four strings around the roll and one string going lengthwise.  If you wrapped it the fancy way, you will be able to hang the rolls up like this:


11.  Set up the steamer.  We have a large metal one that comes with a bottom pan, two steamer pans, and lid.  Fill the bottom with water and a small lemon, cut in half.  The lemon prevents mineral build up on the pan (easier cleanup later).  Cover and bring to a boil.  Lay the rolls into the steam pan.  Do not place rolls on top of each other.  If you can, keep some space in between rolls so that the steam can circulate.  Steam the rolls for  five hours.  When they are done, allow the rolls to reach room temperature before slicing.

And that is how we make banh chuoi.  As you can see, it is a laborious process.  Below is the finished product!  We cooked ours for six hours, a little too long, so that's why it appears soggy.  The banana turns red because of the salt added, and the rice turns greenish because of the banana leaves.  You can leave the rolls out at room temperature, but if it's too hot, then refrigerate them.  To reheat, slice however many you want, peel off the banana leaves, cover and microwave for about a minute.  Will any of you ever make this?  Please let me know how they turn out if you do!