And now for the infamous pickle recipe from my dad. I swear every time I come home I always ask if he can make pickles two weeks before. Ashlee and I can practically eat a whole jar in one sitting....though as Adi shared with us last Friday that is not a smart thing to do. The pickles since my dad started making them have become quite well known. It is the only my dad ever posts on his Facebook for one, meaning all his family is jealous. Then whenever anyone comes to our house and asks for a pickle or has a sandwich/burger, or even just wants a snack, I am always quick to reply they have to have a pickle. Hey, Ashlee and I did use to eat pickles on a regular basis when we were little kids, so it's not THAT strange. Now I believe the pickles have traveled to the west to Navado with my dad's friend Kirk, and to the east to Fernley, NV with my cousin Shane's family. There is even a funny story about my dad getting a "Jesus with a Pickle" thank you card from our family friends the Malkiewiczs...even though it is really a renaissance woman with a pickle in her hand. He was so horrified Karen Malkiewicz searched far and low for a rabbi holding a pickle to appease my father.
anyways, here is the recipe, though I have yet to make them on my own. My dad is pretty pro and knows exactly what proportions to do for every size batch, so I think it takes a little more practice than just making it from the recipe.
Ingredients: For 6 jars of pickles
36 pickling cucumbers (my dad uses the smaller ones that are about 3-4 inches long
7 1/2 cups water
5 cups vinegar
1/3 cup salt
1 bunch of dill
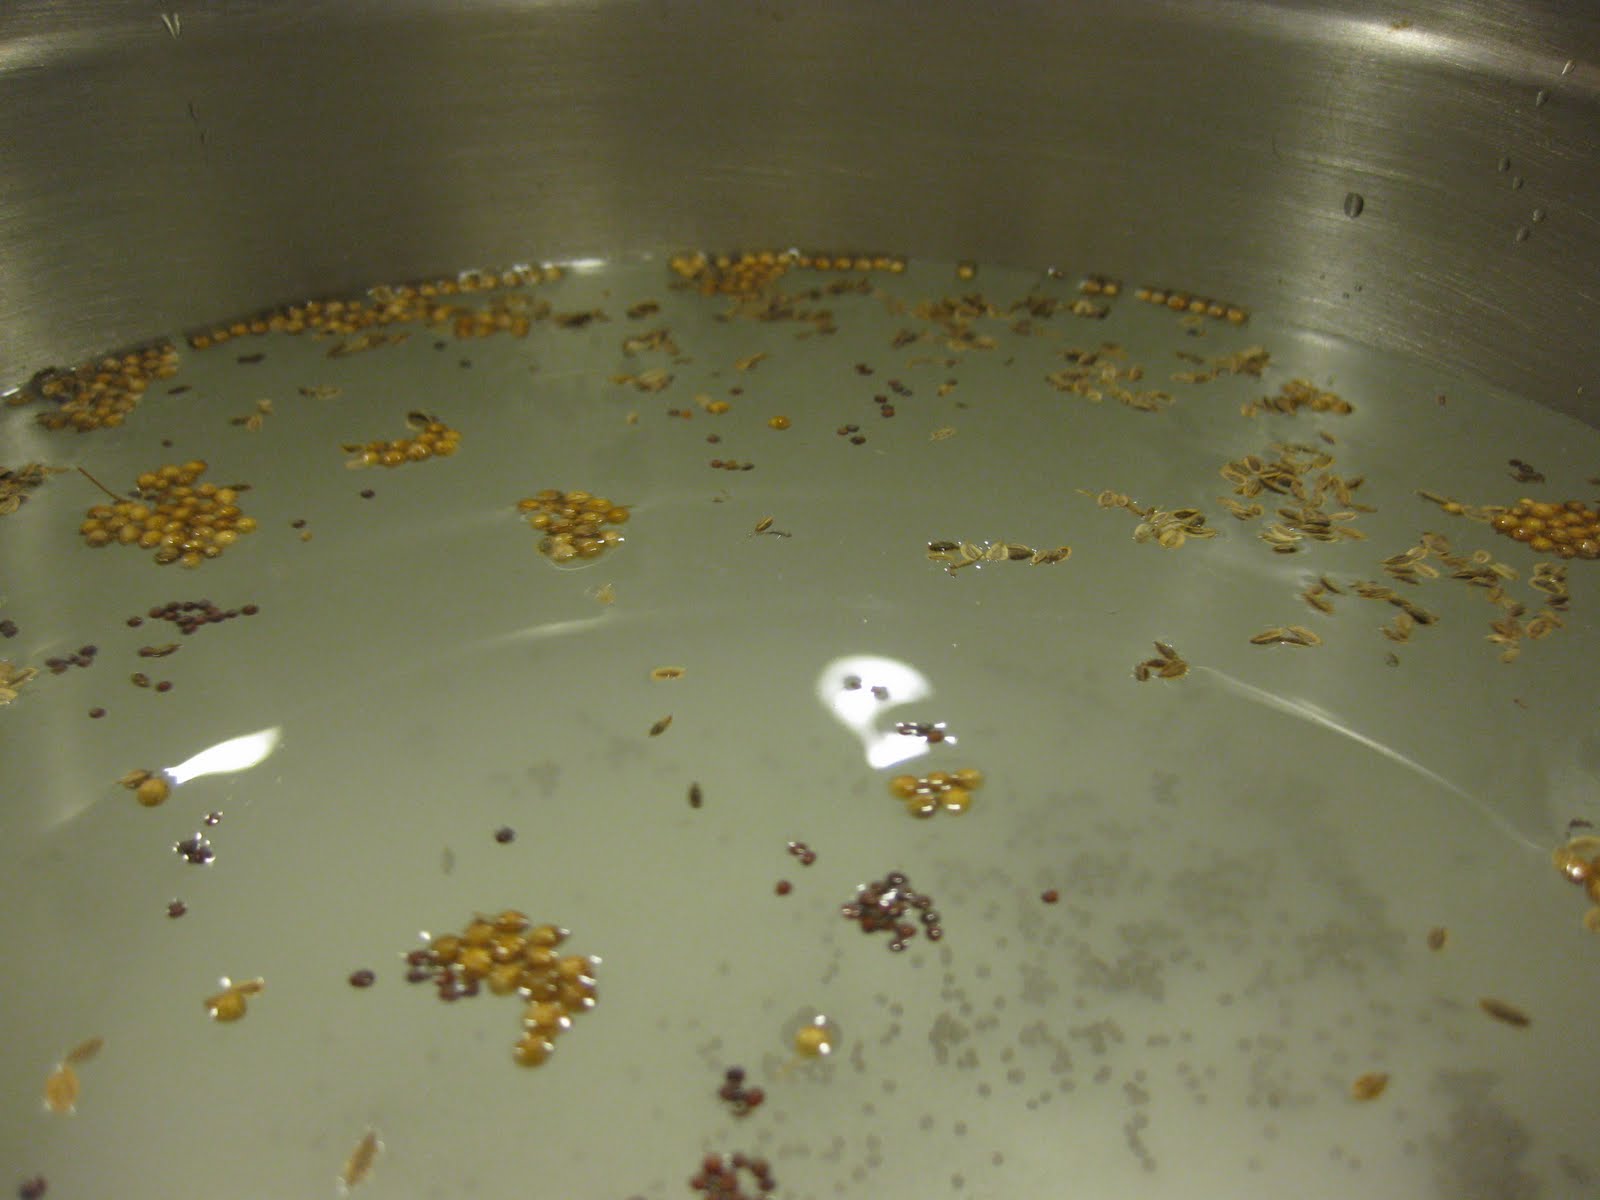
1 teaspoon mustard seeds
2 teaspoons coriander seeds
3/4 teaspoon dill seeds
a head of garlic cloves peeled
1-2 onions sliced thinly...about 1/4 inch thick
good size handful of thai chiles
1. While preparing the pickles you have to sterilize the jars in boiling water.
2. Prep the pickles, by placing them in the jars. This is to make sure you have enough pickles to fill 6 jars, otherwise you need to alter your recipe. My dad usually has about 4 pickles in the bottom of the jar and then 2-3 pickles sticking out of the top a bit.
3. Prep your garlic and your chiles. We freeze our chiles as you can see.
4. Put the water, vinegar, and salt together to sit while you slice the pickles. Also add the dry spices.
5. Start slicing your pickles, but make sure to keep them in piles by their jars so you know about how much you have per jar. My dad slices his pickles by taking about a dime size piece off the ends of each pickle and then slicing them in quarters, lengthwise. He always follows the grain of the pickle, curving down the middle if it curves. I was not very good at that part sadly...
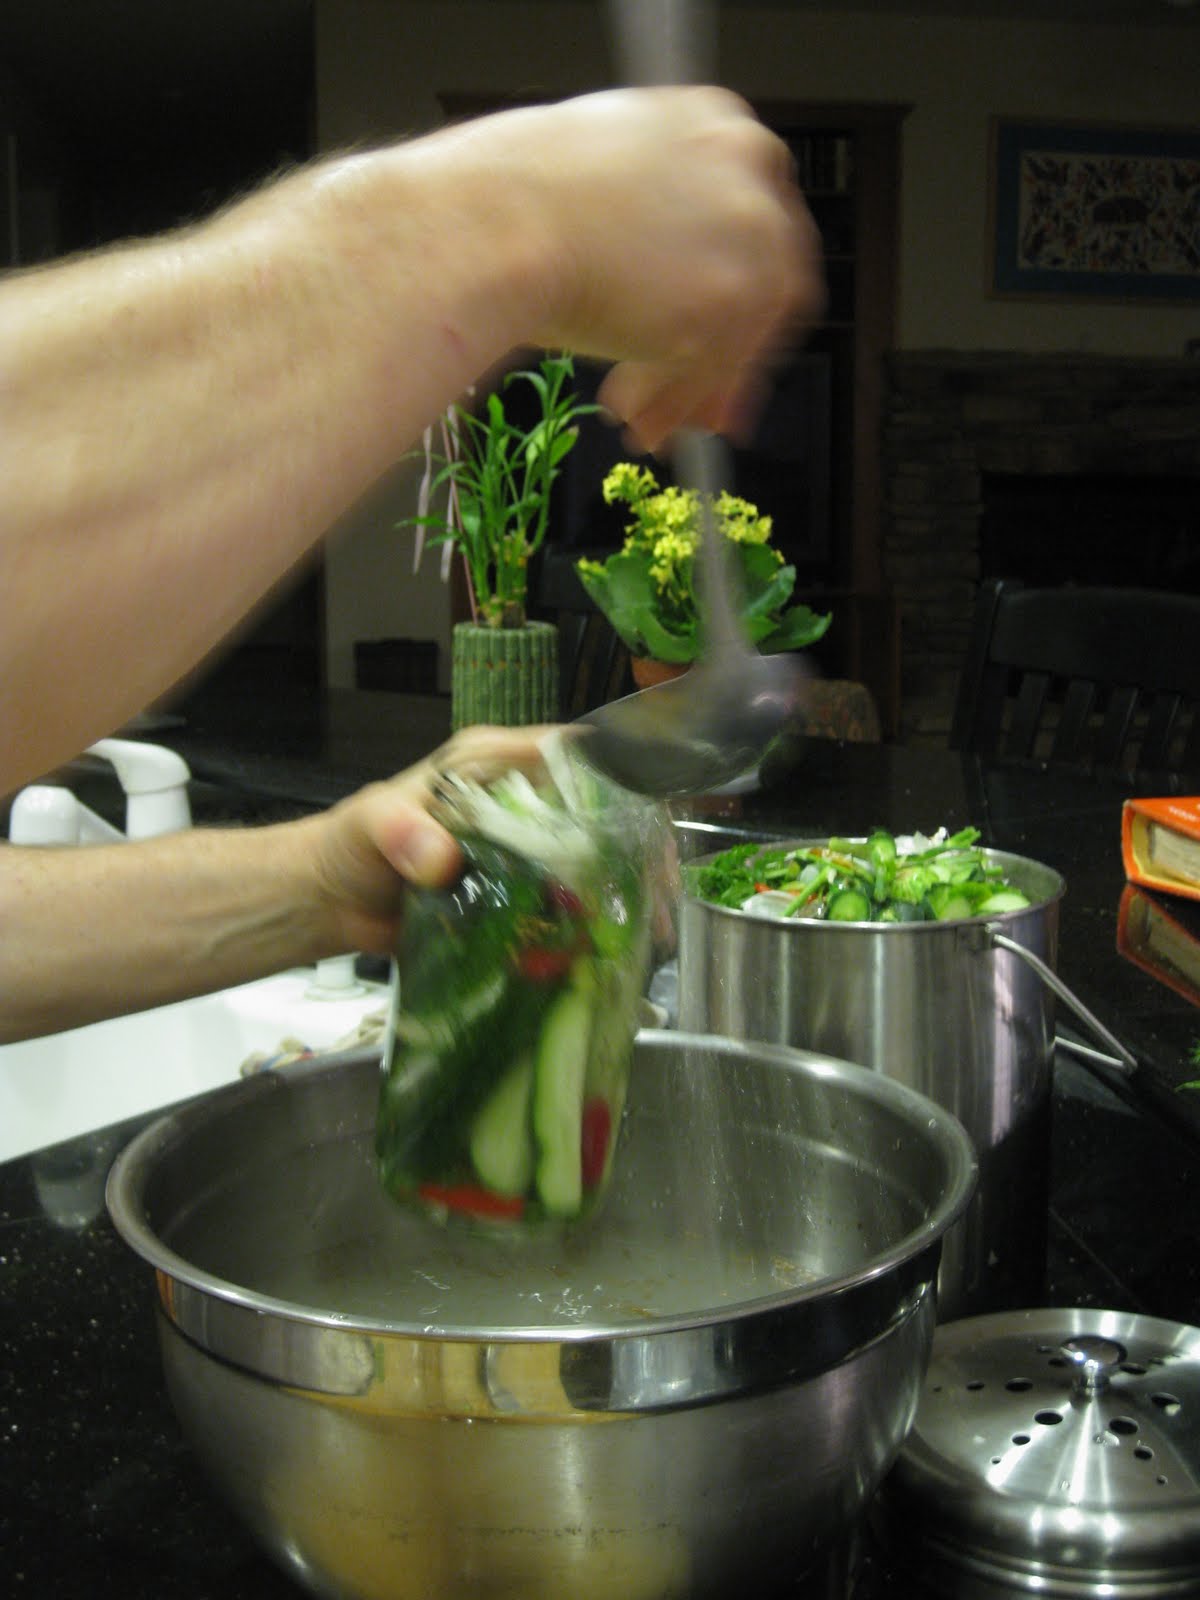
6. Get your sterilized jars ready to the side. Put onions on the bottom of each jar, and then start filling your jars with pickles. Make sure you take the dill and add it in as you as pickles since you dont want it all at the top. Once full of each pile of pickles add onions and chiles and garlic to stuff full.
7. Then add the pickle juice equitably among the jars. Tightly seal and let them sit in the fridge for about two weeks. Enjoy! :)
Next to come FAVA BEANS....which took two hours to prep...>_<